이번 시간에는 Unity Input System에 대해 알아보고 활용하는 방법에 대해 알아보겠다.
Unity에서는 사용자의 키 입력을 받게 해주는 기능을 제공한다. 대표적인게 바로 Input이다.
Input.GetKey(KeyCode.A)
Input.GetKeyDown(KeyCode.W)
Input.GetAxis("Horizontal")
다음과 같이 Input을 기반으로 마우스, 키보드 입력 값을 받으며 사용자 입력에 대한 처리를 할 수 있다.
하지만 Unity가 업데이트 됨에 따라 이 기능을 바인딩 해주는 Input System이 등장하였는데.
https://docs.unity3d.com/Packages/com.unity.inputsystem@1.15/manual/index.html
document에 따르면 " 입력 시스템 패키지는 더욱 새롭고 유연한 시스템으로, 모든 종류의 입력 장치를 사용하여 Unity 콘텐츠를 제어할 수 있도록 합니다. Unity의 기존 입력 관리자를 대체하기 위해 개발되었습니다"라고 한다.
1. Input System 패키지 설치
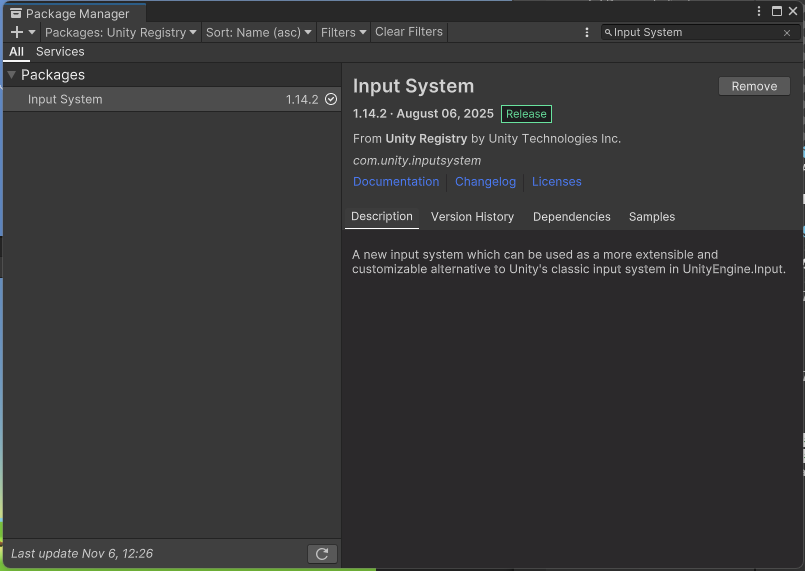
Unity Window -> Package Manager -> Registy -> Input System이라고 입력하면 Package를 설치할 수 있다.
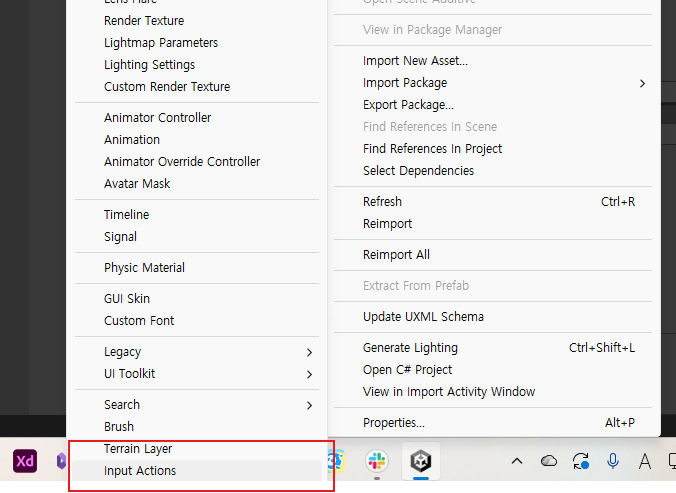
Package를 설치하면 다음과 같이 Input Actions라는 것을 생성할 수 있다. 이것을 통해 우리는 사용자 입력을 바인딩 하며 제어할 수 있는 것이다.
2. Input Binding
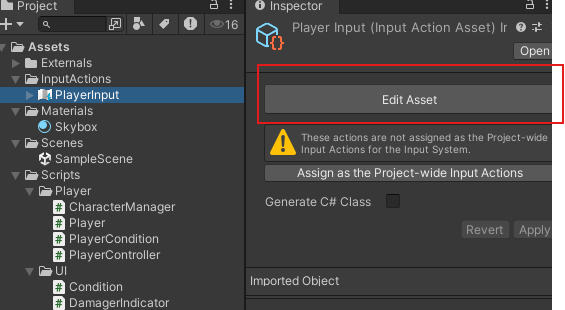
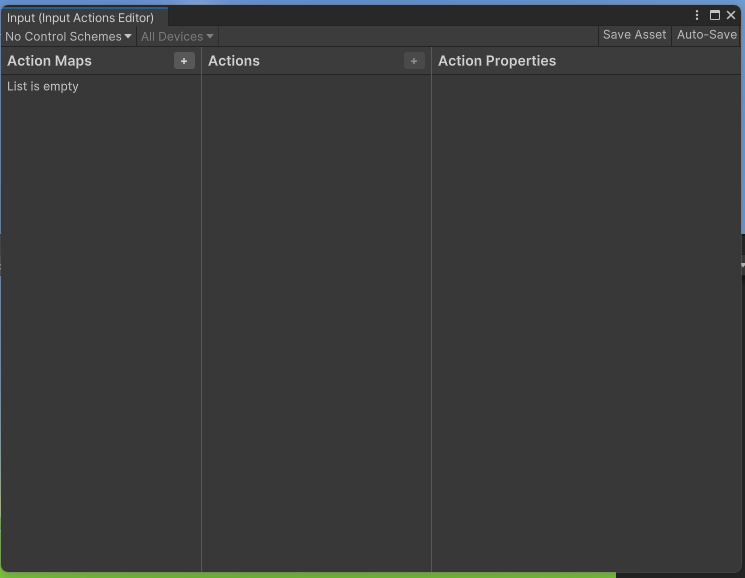
생성한 후 Edit Asset에 들어가 보면 3부분으로 나뉘어져 있다.
각 부분의 역할은 다음과 같다.
| Action Maps | 현재 정의된 액션 맵 목록을 표시합니다. 각 액션 맵은 그룹으로 함께 활성화하거나 비활성화할 수 있는 액션들의 집합입니다. |
| Actions | 현재 선택된 액션 맵에 정의된 모든 액션과 각 액션에 연관된 바인딩을 표시합니다. |
| Action Properies | 액션 패널에서 현재 선택된 액션 또는 바인딩의 속성을 표시합니다. 이 패널의 제목은 액션 패널에서 액션을 선택했는지 바인딩을 선택했는지에 따라 달라집니다. |
액션 Map 생성 후 각 Action에 사용자 입력을 Properies 목록에서 바인딩 하면 된다는 뜻 같다.

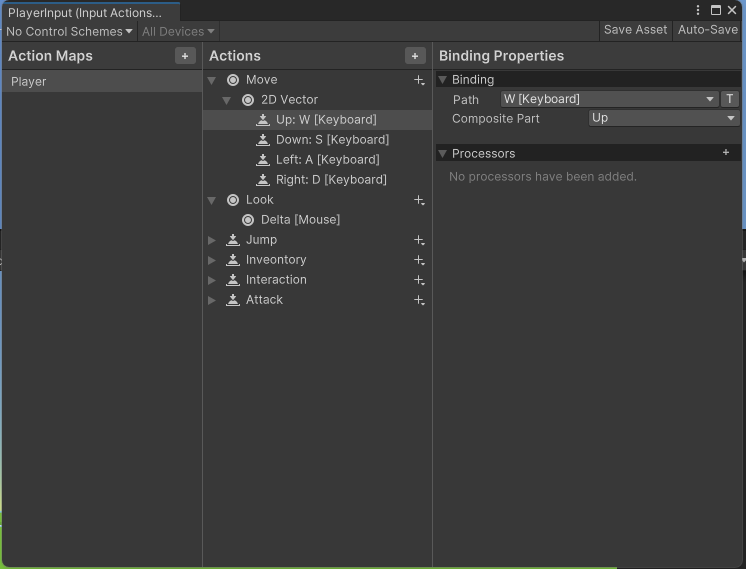
Player Action을 만들고 각각 Move, Look 등 Player가 Action 할 수 있는 것들을 만들고 Properties에서 적절한 ActionType을 고른 후 (Move의 경우 상하좌우 이동 방향을 얻기 위해 Vector2) 키를 바인딩 해준다.
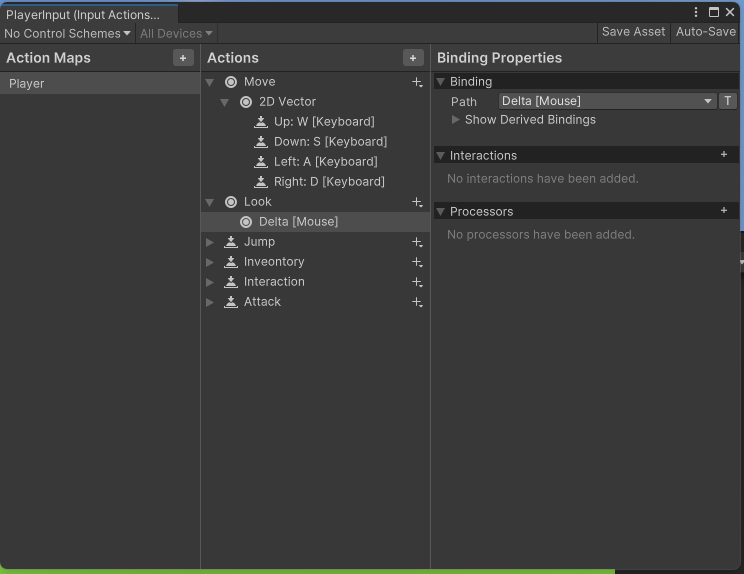
Input.GetMouse 처럼 마우스에 대한 처리도 바인딩 할 수 있다.
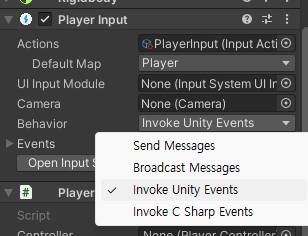
Player에 만들어 놓은 Input System을 넣었더니 Behavior를 여러가지 고를 수 있었다.
Behavior의 의미는 다음과 같다.
BehaviorInspector에서 해당 속성을 사용하면 PlayerInput플레이어와 관련된 일이 발생했을 때 구성 요소가 게임 코드에 알리는 방식을 결정할 수 있습니다.
| Send Messages | Uses GameObject.SendMessage on the GameObject that the PlayerInput component belongs to. |
| Broadcast Message | Uses GameObject.BroadcastMessage on the GameObject that the PlayerInput component belongs to. This broadcasts the message down the GameObject hierarchy. |
| Invoke Unity Events | Uses a separate UnityEvent for each individual type of message. When this is selected, the events available on the PlayerInput are accessible from the Events foldout. The argument received by events triggered for Actions is the same as the one received by started, performed, and canceled callbacks. |
| Invoke C Sharp Events | Similar to Invoke Unity Events, except that the events are plain C# events available on the PlayerInput API. You cannot configure these from the Inspector. Instead, you have to register callbacks for the events in your scripts. |
SendMessage나 BroadcastMessage는 기존 GameObject.SendMessage나 Broadcast 시스템을 이용하여 메세지를 전달하는 방식인 것 같다. Broadcast의 경우 자식 오브젝트들 까지 광범위하게 전달할 수 있다는 것이 차이점이다.
Invoke의 경우 Callback이 일어날 경우 실행하게 하여 Event 형식으로 진행되는 것 같다. 바인딩 한 입력이 일어날 때 해당 이벤트가 호출되게 작용하여 관련한 기능들을 처리한다.
C Sharp Events의 경우에는 Event 일어났을 시 동작을 직접 제어할 수 있어서 Invoke Unity Events보다 더 세밀한 작업이 가능하다.
3. Input System 활용
// Update is called once per frame
void FixedUpdate()
{
    Move();
}

private void LateUpdate()
{
    CameraLook();
}

void Move()
{
    // Move 기능
}

void CameraLook()
{
    // Camera Look 기능
}

public void OnMove(InputAction.CallbackContext context)
{
    if(context.phase == InputActionPhase.Performed)
    {
        // 입력이 지속적으로 감지
    }
    else if(context.phase == InputActionPhase.Canceled)
    {
        // 입력을 멈췄을 때
    }
}

public void OnLook(InputAction.CallbackContext context)
{
    // 마우스 이동이 감지되었을 때 (회전)
}

public void OnJump(InputAction.CallbackContext context)
{
    if(context.phase == InputActionPhase.Started && IsGrounded())
    {
        // 키가 한번 입력되었을 때 (Button)
    }
}
Behavior 모드를 Input Event System으로 이용하였으며, 키 입력이 지속적인지, 한번 클릭되었는지, 키 입력이 안들어올때 등 다양한 Phase를 분리하여 작업을 할 수 있다.
'프로그래밍 > Unity' 카테고리의 다른 글
| Unity StateMachine으로 FSM 관리 (0) | 2025.11.11 |
|---|---|
| Unity AI Navigation (0) | 2025.11.07 |
| Unity 내장 메서드 비용(Cost) 문제 (0) | 2025.10.28 |
| Unity 장바구니 시스템 만들기 (0) | 2025.09.18 |
| Unity 상점 시스템 만들기 - (2) (1) | 2025.09.17 |


